Chips are produced several hundred at a time on a slice of ultra pure, artificially formed silicon crystal, so thin that it would take about 250 slices to form a piece 1in (25mm)thick. Layout diagrams for circuits are prepared on a computer, then each reduced to chip size and set out side by side on a glass plate known as a mask. Because witches and other components are built up in separate layers on the chip, a mask is made for each operation. The masks – which block out the unwanted parts – are made many times larger than the chip and reduced photographically.
The chips are built up by forming each layer – p-type or n-type layers or insulating layers of silicon dioxide – and etching out the unwanted parts. This is done by treating the layer with a coating sensitive to ultraviolet light, masking it, then exposing it to ultraviolet light. The exposed parts become resistant to acid, but the blocked-out parts do not – they are etched away when the layer is coated with acid.
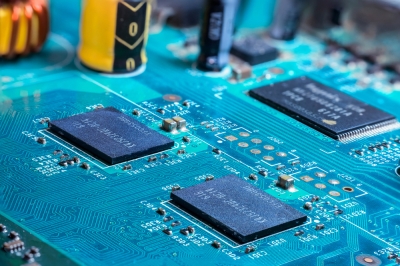
Parts such as aluminium contacts are deposited in the areas etched for them as a vapour. When hardened, the aluminium is etched to add the required circuit connections, which lead to contact pads at the edges of the chip.
All completed chips on slice are tested with delicate electrical probes to check that they are working properly. About 70 per cent prove faulty. They are marked as rejects and thrown away. After testing, the slice is cut into individual chips under a microscope with a diamond-tipped cutter. The good chips are each mounted in a frame that is encased in plastic. The contact pads are linked to metal connectors are in turn linked to protruding legs, or pins, that plug into the external circuit.
Picture Credit : Google